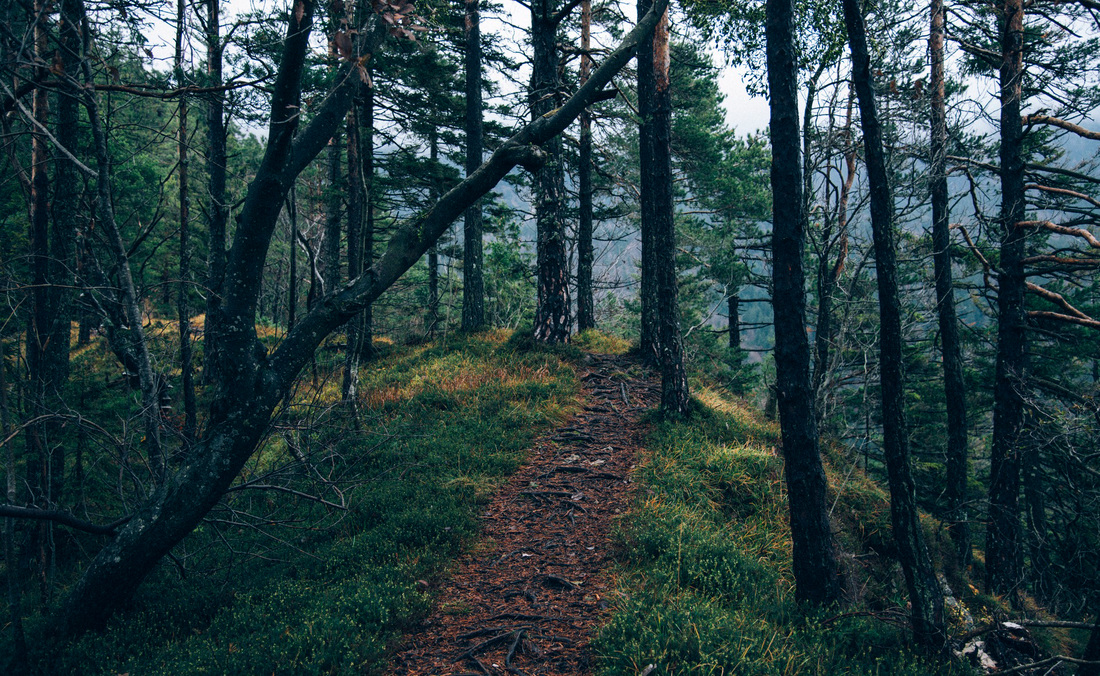
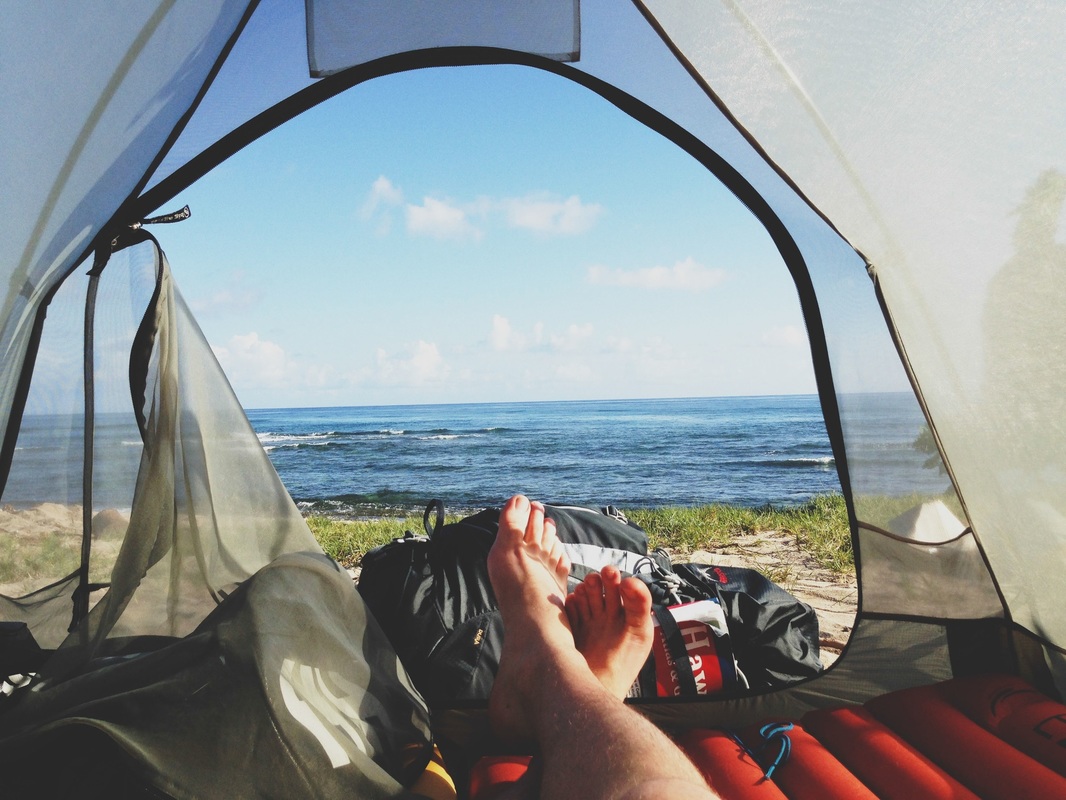
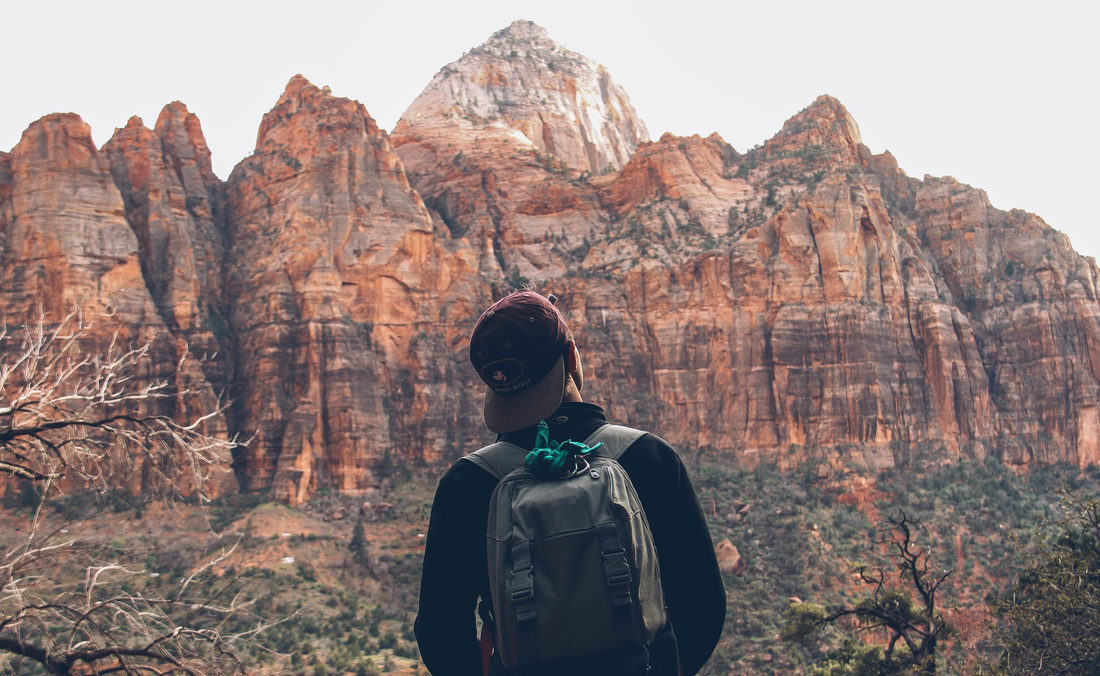
I'm James. This is my year of travel.
|
See the online Help in Flare for more information about its tight integration with Capture. When you do this, the image will be saved within the Flare project. Access Capture from Flare Initiate the screen capture from within Flare.In addition, each time you make changes to the image in Capture, those changes will automatically be reflected in the Flare project. This way, you do not have to add the image to the project before inserting it into a topic. Save in a Flare Project If you plan to use the Capture image in a MadCap Flare project, it is a good idea to save the image in the Content > Resources > Images subfolder (the default image location) where you have stored the Flare project.Then, when you save the image, that information will already be completed for you in the Save As dialog. This includes selecting a destination, file type, and even a file name ahead of time. A profile lets you apply various settings to an image as you capture it. Use a Profile If you use a profile when capturing an image, it will save you time.Here are some tips that you might find useful when saving an image in Capture. This option works especially well if you have included condition tags on some objects in the image. If you want to use the same image with more than one profile, you can save the image to multiple profile targets. Place check marks next to the profiles that you want to use, and click Save. Note You can enable settings for different mediums (i.e., other than the Web (Default) medium) only if the image in question already exists in a MadCap Flare project. See Capture Editor, File Properties Dialog, and Profiles Editor, and Setting Image Properties Using Mediums. When you use this option, a copy of the image is saved in a folder called "PrintVersions," next to the location where the original image was saved. (You must also save the image before this option is enabled.) Print settings are applied to an image on the Format tab of the File Properties dialog or Profiles Editor. This option is enabled if you have an image open in the Capture Editor and you have previously applied print settings to that image. This saves a copy of the image with print settings applied to it. Select File > Save > Save All or press CTRL+SHIFT+S on your keyboard. The new file is not automatically displayed in the editor. Complete the options (destination, file name, file type) in that dialog and click Save. This opens the Save As dialog, which lets you save the active file under a different name and/or file type and to a particular location. The new file is then displayed in the editor. 
If you use the "Save As" option, the file is saved with a new name, but the old file still exists with the old name. 
If you use this option, the old file is simply replaced with the new name. 
The difference between this option and the normal "Save As" option is what happens to the original file. This saves the active file under a different name and/or file type and to a particular location. If the file has not been saved previously, the Save As dialog opens. This saves the changes in the active file. Select File > Save or press CTRL+S on your keyboard.
0 Comments
Leave a Reply. |
AuthorWrite something about yourself. No need to be fancy, just an overview. ArchivesCategories |
 RSS Feed
